How to Wire Power Windows Safely
How to Wire Power Windows Safely and Not Cook Your Motor
If you’ve decided to replace your window cranks with power windows, welcome to one of the most satisfying upgrades you can do to a street rod. Rolling the glass up and down at the push of a button feels great in a car you’ve spent hundreds of hours building. But here’s the thing: a power window motor can pull 20 amps or more under load. Run that kind of current through wire that’s too small, through a switch that can’t handle the draw, or without proper circuit protection, and you’re looking at melted insulation, a dead motor, or worse.
So before you pull out the drill and start cutting into your door panels, let’s talk about how to wire power windows safely. We’ll cover the switches, the wire, the circuit protection, and the polarity control that makes the whole thing work.


Momentary vs. Latching Switches: Know What You’re Buying
This is where a lot of first-time builders get confused, and it’s worth getting right before you spend any money. Every hot rod switch you’ll encounter in a power window installation falls into one of two categories: momentary or latching. The distinction is simple, but the consequences of picking the wrong one are not.
What a Momentary Switch Does
A momentary switch is spring-loaded. It completes a circuit only while you’re actively pressing or holding it. As soon as you let go, the switch snaps back to its default position and the circuit opens. Think about the horn button in your car. You press it, the horn sounds. You release it, the horn stops. No latch, no lock, no memory of what position it was in.
For power windows, this is exactly what you want. You hold the switch in one direction, the motor runs the glass up. Hold it the other way, the glass goes down. Release, and the motor stops immediately. On a datasheet or wiring diagram, you’ll often see the momentary positions noted in parentheses, like (On)-Off-(On). Those parentheses tell you the switch returns to center when released.
What a Latching Switch Does
A latching switch stays in whatever position you move it to. Flip it on, it stays on until you flip it off. The wall switch that controls your garage lights is a latching switch. So is the toggle you might use for your headlights or a fuel pump.
Latching switches work well for accessories that need to stay powered continuously, like running lights or a cooling fan override. They are not appropriate for power windows. A latching switch left in the “on” position will keep feeding current to the motor after the glass has reached the top or bottom of its travel. The motor stalls, current spikes, and now you’re cooking the windings. It won’t take long.
Understanding Reversing Polarity Control
A power window motor needs to spin in two directions. To raise the glass, current flows one way through the motor. To lower it, current needs to flow the other way. This is reversing polarity control, and it’s the core electrical concept behind every power window circuit.
In the simplest setup, the DPDT momentary switch handles polarity reversal mechanically. When you press the switch in one direction, it routes positive voltage to one motor lead and ground to the other. Press the opposite direction, and the switch swaps those connections. The motor reverses.
Some modern window motors use internal electronics and a separate control signal rather than direct polarity reversal at the motor leads. These are non-polarity-reversing motors, and they require a polarity-reversing module between the switch and the motor to translate the switch’s output into the control signal the motor expects. If you’re not sure which type you have, check the documentation that came with your regulator kit.
Tip: Watson’s switch kits ship with polarity-reversing modules, so they’ll work with either motor type. One less variable to worry about when you’re under the dash with a crimping tool.

Wire Gauge and Duty Cycle: Sizing Your Wire Correctly
If there’s one area where people get into trouble during a power window installation, it’s wire sizing. The conversation in the forums has been going on for decades, and it usually boils down to the same debate: 12-gauge, 14-gauge, or something else?
Here’s what we know. A typical window motor draws somewhere between 10 and 20 amps, depending on the load, the condition of the run channels, and whether the glass is fighting friction. At stall, that number can jump above 25 amps. The hot rod wiring you choose has to handle peak current without overheating, and it has to do so over the full length of the run from power source to motor and back to ground.
The Role of Wire Length
Wire gauge and duty cycle are closely related to wire length. A 14-gauge wire might be fine for a short run in a two-door coupe. But route that same wire from the battery, across the firewall, down the door jamb, through the boot, and to a motor inside the door, and you’ve got 8 to 12 feet of conductor. Voltage drop increases with distance. The motor gets less voltage, pulls more current to compensate, and the wire heats up further. It’s a cycle that works against you.
For most street rod applications, 12-gauge stranded wire is the right call for the power-carrying runs between the fuse panel and the motor. It handles up to 25 amps comfortably over typical door-to-battery distances, leaves headroom for stall conditions, and isn’t so heavy that it becomes difficult to route through tight spaces. Use quality stranded copper, not solid core. Stranded wire flexes without cracking, which is important anywhere the wire passes through a door jamb and bends every time the door opens.
Duty Cycle and Why It Matters
Power window motors are not designed for continuous operation. They’re for intermittent use: a few seconds at a time with rest periods in between. This is their duty cycle. When people talk about wire gauge and duty cycle together, they’re acknowledging that even though the motor may pull 20 amps, it only does so for a handful of seconds before the glass reaches its stop.
This is also why circuit protection for power windows is handled differently than it is for something like a fuel pump. A fuel pump runs continuously for hours. A window motor runs for five seconds and stops. The protection needs to account for brief, high-draw spikes without tripping during normal use.

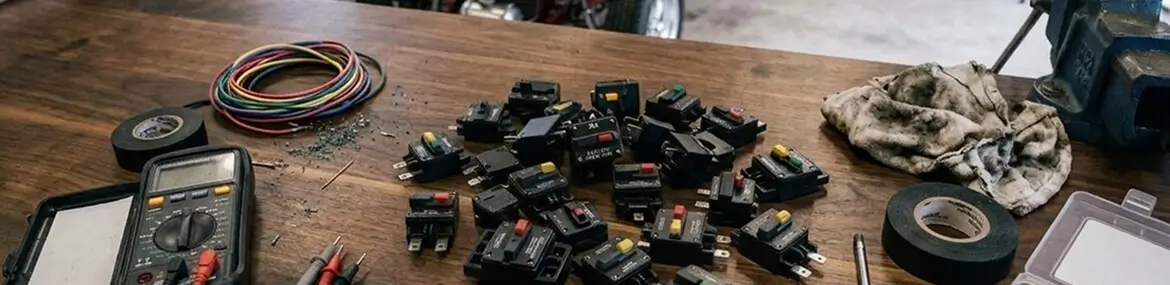
Bimetal Breakers vs. Fuses: Protecting the Circuit
Most automotive circuits use fuses because they’re cheap, reliable, and easy to replace. But when it comes to power window circuits, you’ll find that factory engineers often spec a circuit breaker instead. Understanding the choice between bimetal breakers vs. fuses helps you make the right call for your build.
How a Bimetal Breaker Works
A bimetal circuit breaker uses a strip of two bonded metals. These metals expand at different rates when heated. Under normal current, the strip stays flat, and the circuit remains closed. When excess current flows through the breaker, the strip heats up and bends, which opens the contacts and breaks the circuit. Once the strip cools, it returns to its original shape. In an auto-resetting breaker, this means the circuit reconnects on its own after the overload condition passes.
Why Breakers Make Sense for Window Circuits
Window motors see brief current spikes every time they start moving, and especially at the top and bottom of travel when the glass hits its stops. A fuse rated close to the motor’s running draw might blow during a normal startup surge, leaving you with a window stuck halfway down. A bimetal breaker, by contrast, is slower to respond. It tolerates short surges and only trips on sustained overcurrent, making it a natural fit for the intermittent duty cycle of a window motor.
There’s also the frozen-window scenario. If your glass is stuck, whether from ice or misaligned channels, you’ll hold the switch and the motor will stall. With a fuse, that fuse blows, and now you need a replacement before the window works again. With a breaker, it trips, cools down, resets, and you can try again once you’ve addressed the problem.
For a hot rod build, a 25 to 30 amp breaker per window circuit is a common starting point. Confirm with the motor manufacturer’s specifications and adjust based on your wire gauge and run length.
When a Fuse Still Makes Sense
Fuses have one trait that breakers don’t: they fail permanently. That sounds like a drawback, but in safety terms, it’s a feature. If a breaker keeps auto-resetting on a shorted wire, it’s cycling current through the damaged circuit over and over. A fuse blows once and stays open until you find the problem and replace it. Some builders prefer a manually resettable breaker as a middle ground. It trips and stays open until you flip it back on yourself, giving you the protection of a breaker with the discipline of a fuse.
Best practice: Whether you go with bimetal breakers or fuses, place the protection device as close to the power source as possible. This protects the entire length of wire, not just the motor.

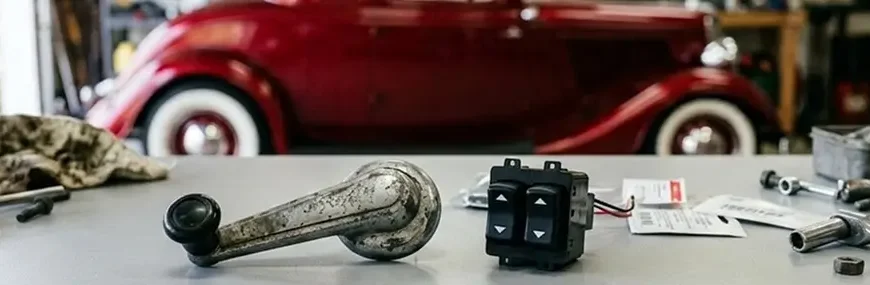
How to Replace a Window Crank With Power: The Practical Steps
If you’re wondering how to replace a window crank with a power setup, the mechanical side is straightforward. Remove the door panel, remove the manual regulator, and bolt in a power regulator with motor. The wiring is where your attention should go.
Here’s the general sequence for wiring power windows in a two-door car:
- Start with a clean, fused 12-volt source.
- Run 12-gauge stranded wire from your fuse panel or a dedicated breaker to the switch location.
- From the switch, run wire to the motor inside each door.
- Use quality connectors, and solder where you can, especially on connections that will live inside the door where moisture is a concern.
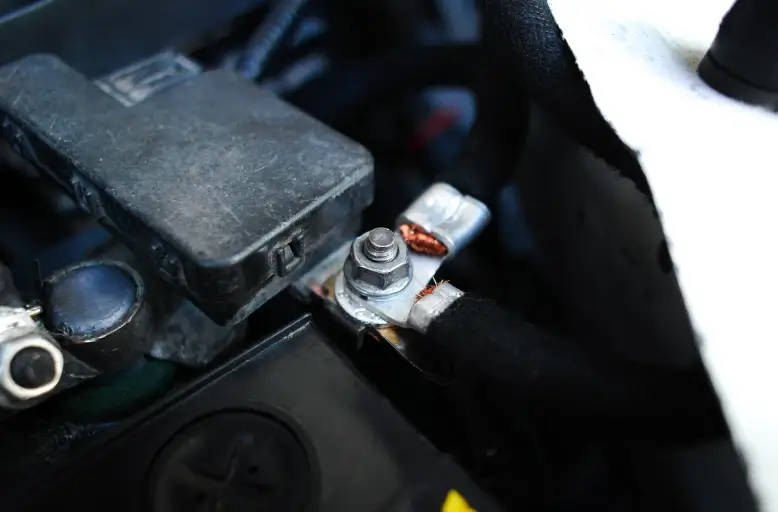
- Run a dedicated ground wire from each motor to the body, and make sure that ground connection is scraped clean and bolted tight.
- Route wires through the door jamb using a rubber boot or grommet. The wires will flex every time the door opens, so leave enough slack for a gentle loop and use stranded, flexible conductor.
- If you’re using relays to take the load off the switches, mount them inside the door near the motor. This shortens the high-current path and keeps the heavy wire runs as short as possible.
Tip Don’t skip the ground. A poor ground connection is responsible for more slow, sluggish windows than any other single issue. Use a dedicated ground wire back to the body or frame, not a daisy-chained ground shared with six other accessories.

Relay Setups: Taking the Load Off Your Switches
In a direct-wired configuration, all the current flowing to the motor passes through the switch contacts. That works, but those contacts wear over time, especially at 15 to 20 amps. A relay setup lets the switch control the relay coil (which draws a fraction of an amp) while the relay handles the full motor current on heavier contacts built for the job.
For each window direction (up and down), you’ll need a separate relay. That means two relays per window. Use 30- or 40-amp SPDT relays, and wire them so that when de-energized, both motor leads sit at ground potential. When the switch activates one relay, it sends 12 volts to one motor lead while the other stays grounded. Activate the other relay, and you’ve reversed the polarity. The motor goes the other direction.
Wiring Tips from the Trenches
After years of seeing builds come through shops, certain mistakes show up repeatedly. Here are a few worth avoiding.
-
- Never use solid-core house wire in an automotive application. It’s designed for walls, not for a chassis that vibrates, flexes, and gets hot. Stranded automotive wire is what belongs in your car.
- Test the system before you put the door panel back on. Run each window up and down a few times. Check that the motor stops cleanly at both ends of travel. Feel the wire near the connectors; if anything is warm, you have a resistance problem that needs attention now.
- Label your wires. When you’re knee-deep in a door with eight leads hanging loose, knowing which wire goes where saves time and prevents the kind of error that lets the smoke out. A roll of masking tape and a marker is all it takes.
- If your windows are slow, don’t just throw bigger wire at the problem. Check the run channels for friction. Check the ground. Check the voltage at the motor with a multimeter while it’s running. Voltage drop across a long, undersized wire run is a common culprit, but binding channels or tired motors deserve equal suspicion.

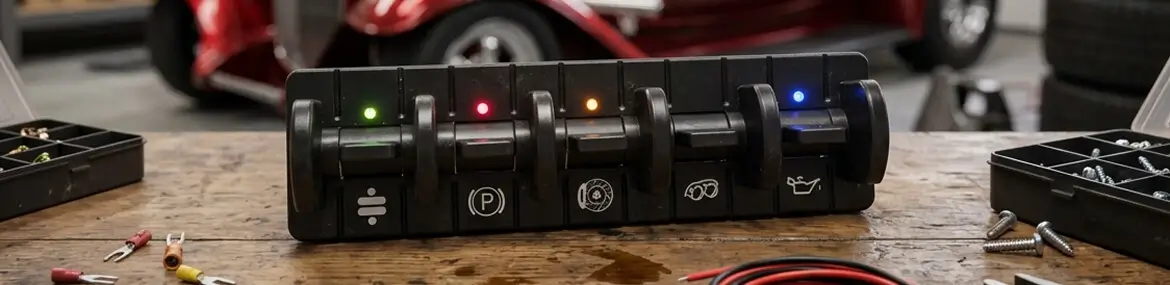
Choosing the Right Switch for Your Build
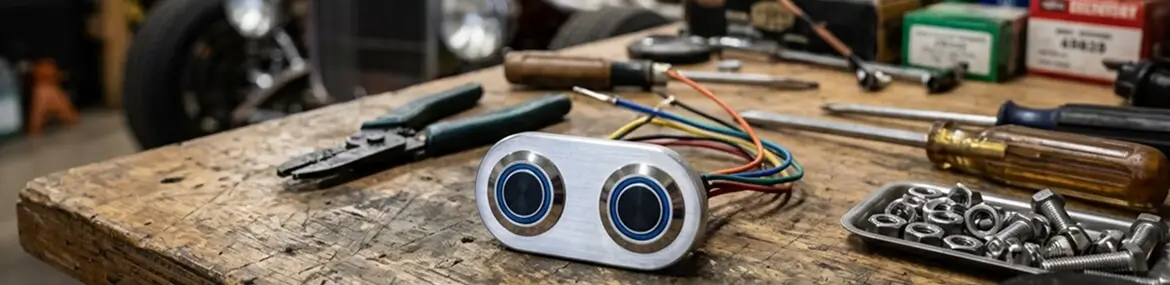
The switch is the part you’ll see and touch every time you get in the car. It should look like it belongs there. We at Watson’s StreetWorks offer power window switches in rectangular and oval billet designs, with options for brushed, polished, or Raven Black anodized finishes. The dimpled Infinity rockers and the sharper Chiseled rockers give you style options that match different interiors.
Our kits are available in single-, double-, triple-, and four-door configurations, and each kit ships with lead wires, polarity-reversing modules, mounting clips, and instructions. The lights on the switch panels run on a separate circuit, which means you can tie them to your dash illumination, run them independently, or leave them off entirely.
For the supporting wiring, fuse panels, flashers, and relays, check out our full selection of hot rod wiring products. Having quality components throughout the circuit is how you make sure the system works reliably for years, not just on the day you install it.
Find the Right Switches and Wiring for Your Power Window Build
Watson’s StreetWorks has been building switches and components for the street rod community since 1988, and our product line is purpose-built for the kind of work we’ve covered here. From billet power window switches to complete wiring accessories, everything is designed to work together and look the part in a finished interior. If you’re planning a power window installation or upgrading an existing setup, our catalog is a good place to start.
Frequently Asked Questions About How to Wire Power Windows
Why do my power windows make strange noises like clicking or grinding when I press the switch?
Clicking usually indicates a relay that’s engaging but not supplying enough current to spin the motor. Check your connections and grounds first, since corroded contacts or a loose relay socket are common causes. Grinding typically comes from inside the door, not the electrical side. A worn regulator gear, failing motor bushings, or a window off its track will all produce that sound. Pull the door panel and inspect the mechanical components before you start chasing wiring problems.
Can weather conditions affect power window performance and wiring?
Absolutely. Cold weather thickens grease in the run channels and increases friction, so the motor works harder and draws more current. Ice can bond the glass to the weatherstripping entirely, stalling the motor at maximum amperage until the breaker trips or you release the switch. This is one reason bimetal breakers are preferred over fuses in window circuits. On the moisture side, wiring inside doors lives in a damp environment. Unsealed connectors and exposed solder joints corrode over time, adding resistance that generates heat under load. Use heat-shrink on every joint, apply dielectric grease to plug connectors, and keep your door drain holes clear.
Is there a difference in wiring strategy between driver and passenger power windows?
In a simple two-door setup, each window gets its own switch and independent circuit, and the wiring is identical on both sides. Things change when you want the driver to operate all windows from a single master panel. That requires longer wire runs to the passenger side, which increases voltage drop. You may want to step up to 10 gauge for those runs or add relays in each door so the master switch only carries signal-level current. Watson’s StreetWorks offers multi-switch panel kits, including their four-door kit with a 2-over-2 driver panel, that come with crossover wiring already figured out.